


How to Start Drawing as a Beginner: A Simple Step-by-Step Guide
To start drawing as a beginner, set aside 20 minutes, sit down with a pencil and paper, and draw a simple object in front of you, such as a cup. Do it again tomorrow. That is the whole method. This drawing for beginners step by step plan turns it into a clear first month of simple drawing exercises for beginners, so you always know what to practise next instead of staring at a blank page wondering where to begin.
What You'll Find in This Guide
• A realistic way to begin if you have never drawn before
• A four-week plan, with a task for each week
• What to do when your drawings look bad
• Where drawing lessons for beginners can help, and what to look for
The Problem With Starting
Most people do not struggle with drawing itself. They struggle with starting. A blank page feels heavy, the idea of being bad at something is uncomfortable, and there are a thousand tutorials online that each say something different.
So let's make the first step as small as possible. You are not trying to make a good drawing this week. You are trying to make drawing a normal thing you do. Quality follows later, almost without you noticing.
Before You Begin: Three Mindset Rules
Your first drawings will be bad, and that is fine. Plan for it. If you expect it, it stops bothering you.
Keep the stakes low. Use a cheap sketchbook, not a precious one. If every page feels expensive, you will be afraid to make a mark.
Judge the habit, not the result. Did you sit down and draw today? That is a win.
The Supplies (Keep It Short)
A sketchbook, two or three pencils (HB, 2B, 4B), an eraser, and a sharpener. If you want more detail on the pencils, read our guide to drawing pencil types. Everything else can wait.
Week 1: Lines, Shapes, and Getting Comfortable
Goal: control the pencil.
On the first day, fill a page with straight lines in different directions, then curves, then circles and ovals. Try to make each line in one smooth stroke rather than many small scratches. Don't worry if they wobble.
Over the week, practise these basic shapes: a square, a circle, a triangle, and an oval. Draw each one five or six times. Then try combining them into simple objects. A house is a square and a triangle. A snowman is three circles.
Daily time: 15 to 20 minutes.
Week 2: Looking Closely at Simple Objects
Goal: drawing from observation.
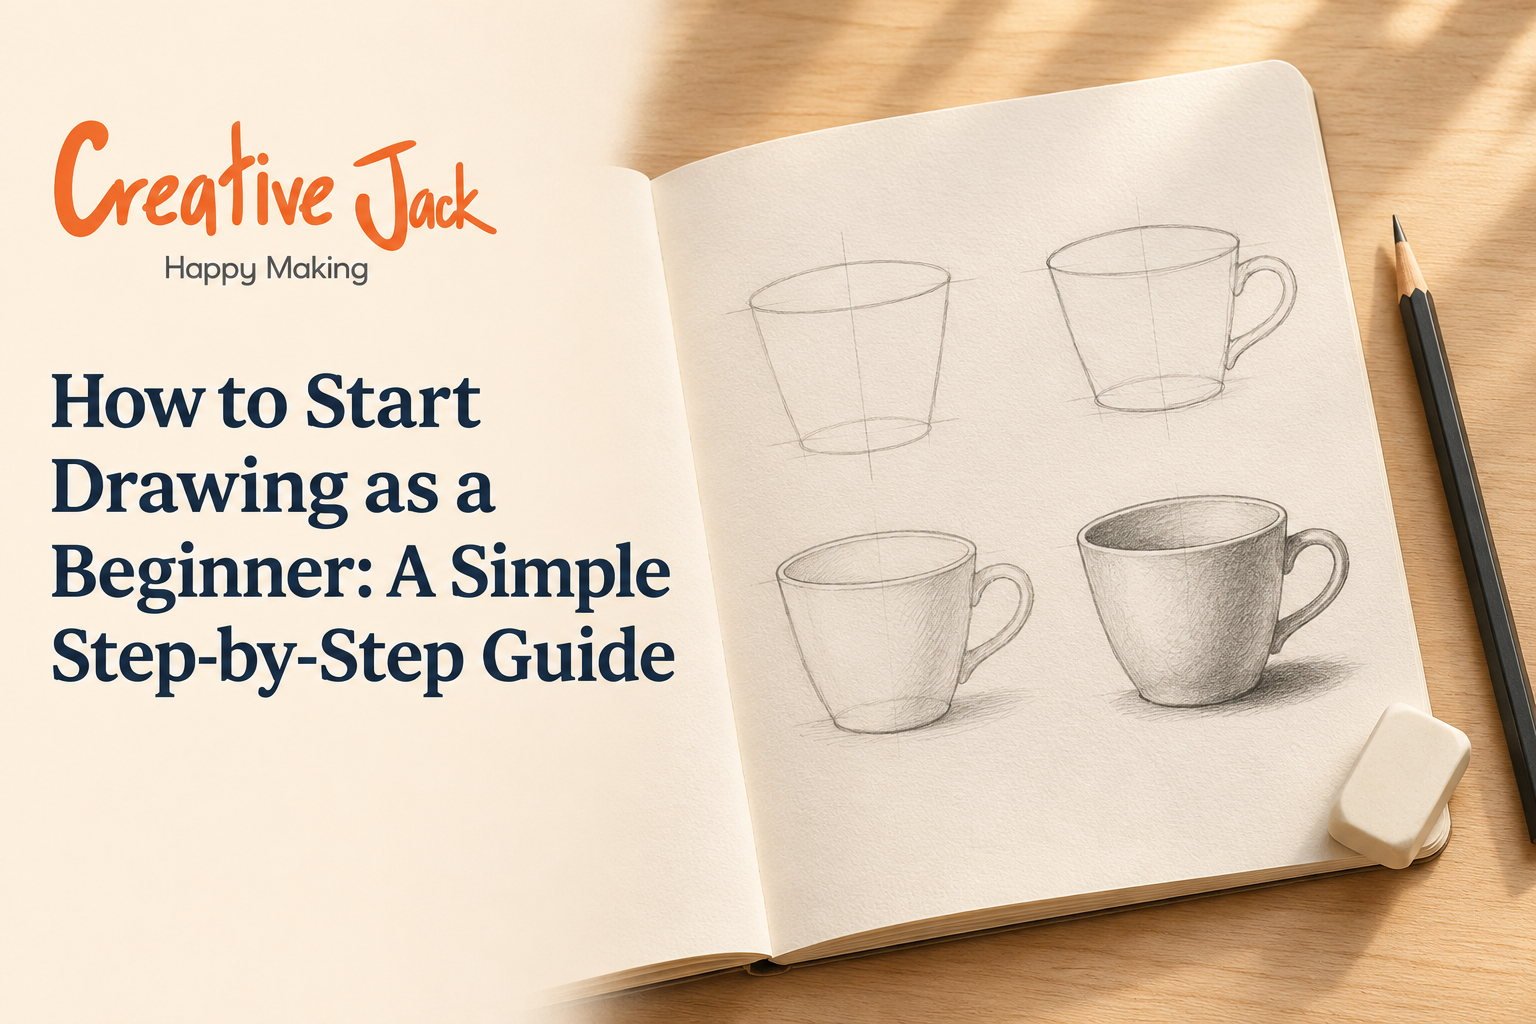
Pick three or four simple objects around the house: a cup, a bottle, a fruit, a shoe. Place one in front of you and draw it. Before you start, ask yourself what basic shape it is closest to. A bottle is a tall cylinder. A fruit is a sphere. Start by lightly drawing that shape, then adjust it to match what you see.
Draw from observation, not from memory. This is the central drawing skill. Look at the object more than you look at your paper. Aim for about two-thirds of your time looking, and one-third drawing.
Daily time: 20 minutes.
Week 3: Light and Shadow
Goal: make things look solid.
Take a simple object and put it next to a window or under a lamp so the light comes from one side. Notice three areas: the bright side, the middle tone, and the dark side. Add a cast shadow on the table.
Now shade your drawing with three tones. Press lightly for the bright areas, a little harder for the mid-tones, and build up the darkest areas gradually. Don't try to get it perfect. The aim is to see how shading creates the feeling of volume. Our post on seven shading techniques gives you several ways to do it.
Daily time: 20 to 30 minutes.
Week 4: Put It Together
Goal: draw a small still life.
Arrange two or three objects on a table, such as a cup, a fruit, and a book. Draw them together. Block in the overall shapes first. Check how big each object is compared with the others. Then add shading.
At the end of the week, lay out everything you have drawn over the month and look at it. Compare the first week to the fourth. Most people are surprised.
Daily time: 30 minutes.
What to Do When Your Drawing Looks Wrong
It will, often. Here is a quick checklist.
1. Squint at your subject. It blurs the detail and shows you the big shapes and tones.
2. Turn your drawing upside down, or look at it in a mirror. Mistakes in proportion often jump out immediately.
3. Check one relationship at a time. Is this too wide? Is that too low?
4. Put it away and look tomorrow. With fresh eyes, you will see what to fix.
Many of the problems new artists run into are listed in 10 common drawing mistakes beginners make.
Should You Take Lessons?
You can learn alone, but there is a point where feedback speeds things up a lot. If you find that you are practising and not seeing improvement, or you simply want someone to guide you, drawing lessons for beginners can save months of guessing. The same goes for sketching lessons for beginners, where a teacher can correct the way you hold your pencil, how you build a shape, and how you see proportion.
When you compare options, ask a few direct questions:
• How many students are in the group?
• Is it a genuine beginner course, or a mixed class where you will feel lost?
• Will someone look at my work and give specific feedback?
• What will I be able to draw by the end?
If you are weighing up a sketching course for beginners against a broader art programme, the main difference is focus. A sketching course goes deep into drawing. A broader course introduces several mediums. Both work, depending on what you want. For adults looking for art classes for beginners, it is worth finding a class labelled for complete beginners, because a mixed-level class can be discouraging if you are the least experienced person in the room. Many studios now offer beginner art classes for adults with smaller groups, and some call it art classes for beginners adults. Whatever the wording, look for the same things: small groups, real feedback, and a clear plan.
See How It Looks
Seeing someone draw shows you things that text cannot. You will find free drawing lessons on the Creative Jack YouTube channel, and you can browse student work on our Instagram.
How Creative Jack Helps Beginners
Creative Jack's beginner-level Professional Art Course starts with anatomy sketching and builds towards charcoal, light and shadow, and several painting mediums, so you get a grounding in drawing before colour. We also have a Pencil Drawing course built around realism portraits. Our beginner-level courses are designed for complete freshers, and classes are available online and offline, depending on the batch.
FAQs
How do I start drawing if I have never done it before? Begin with 15 to 20 minutes a day. Practise lines and basic shapes, then draw simple objects from life.
How long should each practice session be? Twenty minutes is enough at the start. Regular short sessions work better than one long one.
Do I need to learn to draw shapes first? Yes. Almost everything is built from basic shapes, so practising them gives you a foundation.
What should I draw first? A simple object in front of you, like a cup or a fruit. Avoid faces and complicated scenes until you are comfortable with shapes and shading.
Is it too late to start drawing as an adult? No. Adults often learn quickly because they are patient and can follow instructions.
Do I need an art class to start? No, but a class helps if you want feedback and structure.
Can I learn drawing online? Yes, especially in live classes where the teacher can see your work. Free videos are a good supplement.
Starting in Mumbai, Navi Mumbai, Thane, or Pune
If you would like to learn in person, our Professional Art Course is listed at Art Station Andheri West, Khar West, CBD Belapur, and FC Road Pune, and at Mango Stationery in Thane West. See our post on pencil drawing classes in Mumbai for what to ask before you join.
Take the First Step
Book a free trial class or message us on WhatsApp, and bring a sketchbook.
Related reads: Complete Beginner's Guide to Drawing | How to Improve Your Sketching Skills: 10 Drawing Exercises | 10 Common Drawing Mistakes Beginners Make