


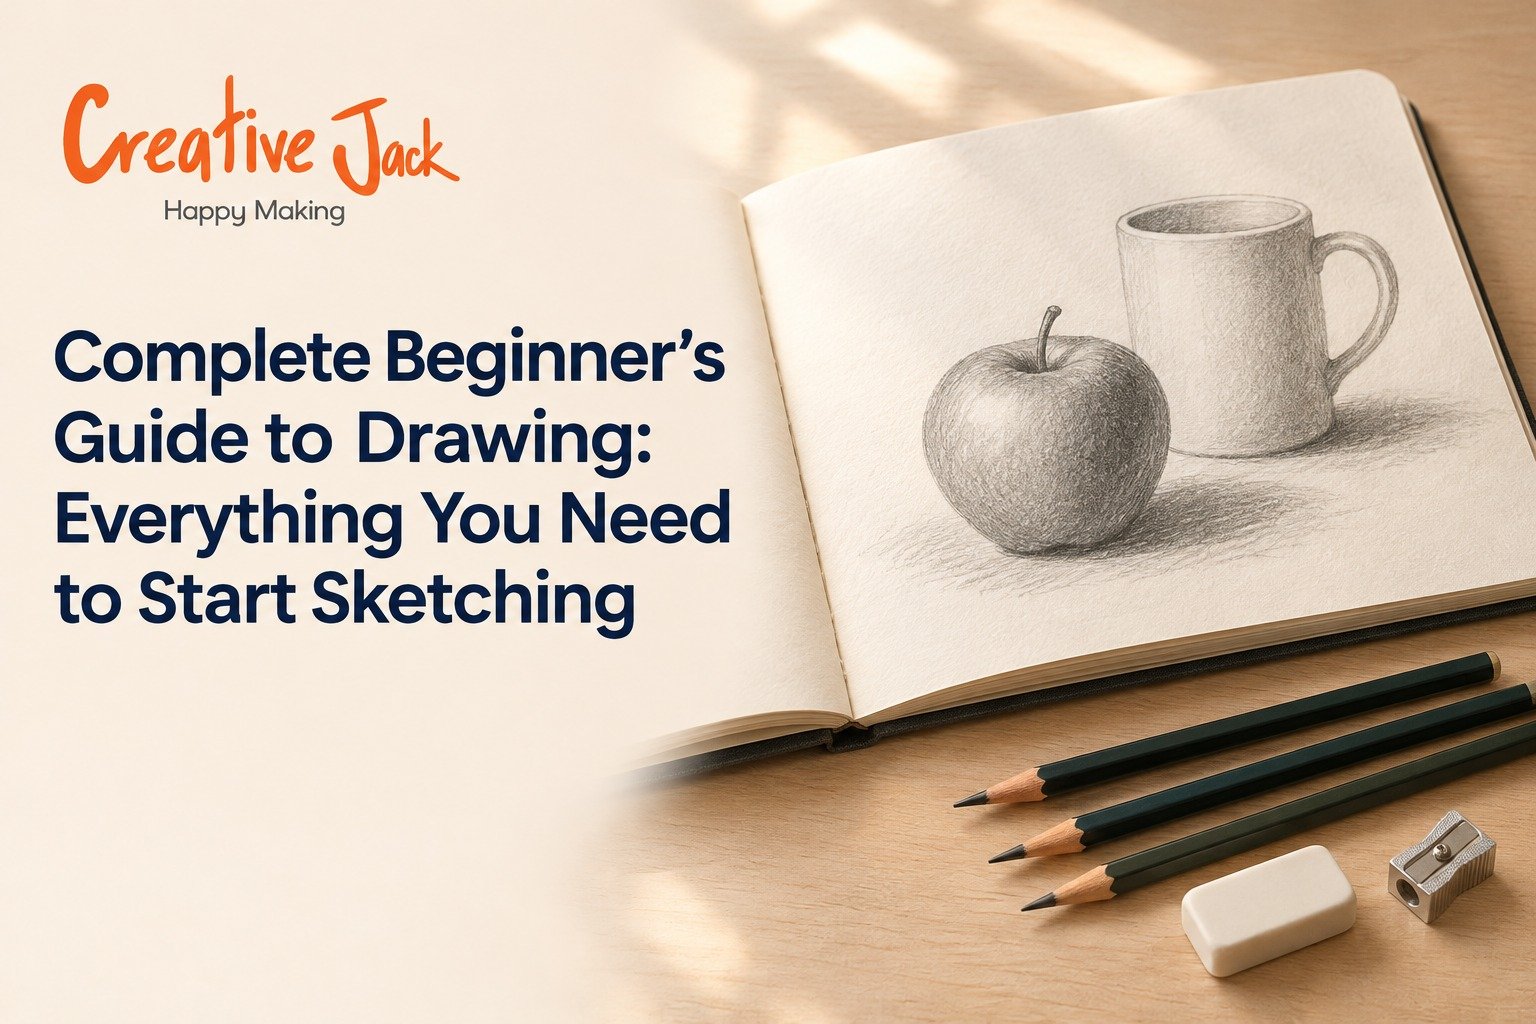
Complete Beginner’s Guide to Drawing: Everything You Need to Start Sketching
Drawing for beginners starts with a pencil, a sketchbook, and a habit of looking closely before you put a line down. You do not need talent or expensive supplies. You need to learn five things in roughly this order: how to hold the pencil, how to draw basic shapes, how to judge proportion, how to shade, and how to look at your subject instead of at your memory of it. This guide covers all five, plus the tools, a simple practice plan, and when it makes sense to get a teacher.
What You'll Find in This Guide
• The few supplies you actually need
• How drawing, sketching, and painting relate to each other
• A step by step way to learn the basics
• How to practise so you improve week by week
• When to learn on your own and when to join a class
Why Most Beginners Stall
Most people who say "I can't draw" tried for a week or two, felt their results looked childish, and stopped. That feeling is normal, and it is not a sign of missing talent. It is a sign that your eye has improved faster than your hand. You can see what is wrong with your drawing, but you cannot yet fix it. Everyone who draws well went through this stage, and most of them went through it for months.
The other common problem is learning in the wrong order. People copy a detailed portrait on day one, skip the basic shapes, and end up frustrated because they have no foundation to build on. A good plan for sketching and drawing for beginners works the other way round: simple things first, repeated until they feel easy.
Drawing, Sketching, and Painting: How They Fit Together
These words get mixed up, so a quick note.
Drawing is making marks to describe a subject, usually with a dry medium such as pencil, charcoal, or pen. Sketching is a quicker, looser kind of drawing, often used to explore an idea or capture something in a few minutes. A sketch can be rough, and that is the point.
Painting adds colour and wet media. Most painters sketch first, which is why you will see courses advertised as painting and drawing, or drawing and painting, in the same breath.
Painting & Drawing: Which Do You Learn First?
Learn drawing first. In most painting drawing courses, the first weeks are pencil work because the skills carry across everything: proportion, composition, light and shadow. Many painters do quick painting sketching studies in pencil or ink before they ever open a tube of colour. A person who can draw well can learn paint quickly. A person who tries to paint without drawing skills usually ends up fixing mistakes with more paint.
If you are curious about art and drawing as a whole, think of drawing as the foundation. It is also the cheapest way to start, which helps. If you are interested in arts drawing more broadly, including design, illustration, or fine art, the same basics apply to all of them.
What You Actually Need to Start
You can begin with very little.
Pencils. A basic set of graphite pencils, such as an HB, a 2B, and a 4B, is enough. A single graphite pencil in each of those grades costs very little. We explain the grades in our guide to drawing pencil types.
A sketchbook. Any sketchbook with decent paper will do. Plain cartridge paper around 120 to 150 GSM is a good start. Avoid very thin copier paper if you plan to shade, because it tears and smudges.
An eraser. A soft kneaded eraser lifts graphite gently, and a plastic eraser removes it cleanly. Having both is useful.
A sharpener. Keep your pencils sharp for lines, and slightly blunt for shading.
Something to look at. A mug, a fruit, your own hand, or a plant. Observation is half of drawing.
That is the full list of drawing materials. A set of 24 pencils, blending tools, and special papers can wait.
Step-by-Step: Learning the Basics
These are the drawing basics, and they are also how to start sketching: simple, quick, and repeated often. Sketching for beginners is really just the basics done at speed, so you can treat the two as one skill.
Step 1: Learn to Hold the Pencil Two Ways
Hold the pencil like you would a pen for detailed work, close to the tip. For looser sketching, hold it further back, with your hand relaxed and your arm doing the movement. Many beginners grip too tight and draw only from the fingers, which makes lines shaky. Try drawing long, light lines from your shoulder and elbow instead.
Step 2: Practise Lines and Shapes
Fill a page with straight lines, curves, circles, and ovals. It looks dull, and it works. Controlling a line is the most basic drawing skill. Then move to simple forms: a square, a circle, a triangle. Later you turn them into three-dimensional forms: a cube, a sphere, a cylinder. Almost everything you will ever draw is built from these.
Step 3: Draw What You See, Not What You Think
This is the step that changes how you draw. The brain loves symbols. When you draw an eye, you will tend to draw an almond with a circle, which is a symbol of an eye, not the eye in front of you. Look at your subject and notice angles, gaps, and shapes. Ask questions as you draw: how tall is this compared with how wide? Where does this line start relative to that one? Our step-by-step guide to starting drawing goes into this more slowly.
Step 4: Block In Proportion Before Detail
Lightly sketch the overall shape first. Check proportions. Fix mistakes while the lines are still faint. Only add detail once the big shapes feel right. Nearly every drawing problem beginners have comes from adding detail too early.
Step 5: Add Light and Shadow
A flat outline looks like a cartoon. Shading makes an object look solid. Start with a simple sphere and decide where the light is coming from. The side facing the light is brightest, the side away is darkest, and the shadow it throws on the table is darker still. Our article on seven shading techniques shows how to build tone in different ways.
Step 6: Build Up Slowly
Resist the urge to press hard on the first pass. Build tone in layers, light to dark. It is easier to darken a drawing than to lighten one.
Set Up Your Space and Posture
Where and how you sit changes how you draw, and it is absolutely easy to fix. Sit at a table with your sketchbook slightly tilted towards you, or prop it on a board against your knees. If you are right handed, let the light come from your left, so your hand does not cast a shadow over what you are drawing. Left handed artists should flip that. Sit upright, keep your shoulders loose, and stand up every twenty minutes or so. A cramped hand and a stiff neck are two of the quietest reasons people give up.
Keep a scrap sheet of paper under your drawing hand. It stops smudging, and it saves your best shading from your own palm.
Draw From Life or From Photos?
Both are useful, for different reasons.
Drawing from life means looking at a real object or person. You see depth, real shadows, and subtle colour shifts, and you have to make decisions about what to leave out. It is the best way to train your eye, and it is where most progress happens.
Drawing from photos is easier because the subject does not move and the light does not change. A photo has already flattened the world into two dimensions, which makes it simpler to copy. It is useful for portraits and for subjects you cannot place in front of you, such as animals or faraway places.
A good mix for beginners is to draw from life at least half of the time. If you only ever copy photos, your drawings can end up looking like copies of photos, with the same flatness and the same blind spots.
A First Taste of Perspective
Perspective sounds technical, but the basic idea is simple: things that are further away look smaller, and parallel lines appear to meet in the distance.
Try this. Draw a horizontal line across your page. That is the horizon, or eye level. Put a dot on the line. That is your vanishing point. Now draw a square somewhere below the line, then draw faint lines from each corner of the square towards the dot. Finish a box by closing the shape between those lines. You have just drawn a cube in one-point perspective.
Do this a few times with boxes of different sizes and positions, and you will start to see why a road narrows into the distance and why the top of a table looks like a slanted shape instead of a rectangle. You do not need to master perspective in your first month, but knowing it exists makes your observational drawings much more convincing.
What to Draw in Your First Month
If you are not sure what to draw, use this list. Each item teaches something different.
• A mug or glass: ellipses, symmetry, and highlights
• A piece of fruit: a sphere with soft, uneven shading
• Your own hand: proportion, overlapping forms, and patience
• A shoe: complex shapes made from simple forms
• A houseplant: organic shapes and negative space
• A cardboard box: straight edges, perspective, and cast shadows
• A crumpled paper ball: irregular surfaces and tonal range
• A friend or family member reading: a relaxed, simple pose, and your first quick figure sketch
Avoid anything with fine detail until week three or four. Simple things drawn well teach you more than complex things drawn badly.
Keeping a Sketchbook
A sketchbook is not a gallery. It is a workshop. Fill it with failed attempts, half-finished ideas, and notes to yourself. A few habits help:
• Date every page, so you can see progress.
• Write one line on each drawing: what you tried, and what you would do differently.
• Do not tear out pages you do not like. The bad ones are the best record of how far you have come.
• Carry it with you. Five minutes in a waiting room or on a train adds up.
• Use both sides of the paper and do not save "good" pages for later.
Many people find that the sketchbook becomes the most useful teacher they have, simply because it shows them the pattern in their own mistakes.
A Simple Weekly Practice Plan
You will improve far faster with short, regular sessions than with one long one on the weekend. Here is a plan that fits around a busy week.
• Three days a week, 20 minutes: lines, shapes, and forms (Step 2).
• Two days a week, 30 minutes: draw one object from life (Steps 3 to 5).
• One day a week: review. Lay out your week's drawings and pick one thing to fix next week.
Keep every drawing, even the bad ones. In a month, look back at the first page. The difference is usually larger than you expect, and it is the best motivation available.
For more ideas, see our list of 10 drawing exercises.
Common Beginner Problems and Quick Fixes
"My lines are shaky." Draw faster and lighter, and use your whole arm.
"My drawings look flat." Add a clear light source and at least three tones: light, mid, dark.
"The proportions are off." Hold your pencil at arm's length to compare sizes, and check them often.
"I keep erasing." Draw lightly at first so mistakes are easy to fix, and leave some construction lines visible.
We cover these in more depth in 10 common drawing mistakes beginners make.
Learn on Your Own or Join a Class?
You can teach yourself. Plenty of people do, using books, videos, and plenty of practice. The weak spot of self-teaching is feedback. It is hard to see your own mistakes, and a bad habit practised for months becomes hard to undo. A good teacher spots in thirty seconds what you could not find in thirty days.
A class also gives you structure, a regular time that is yours, and people to draw alongside. If you are trying to learn sketching for a particular purpose, such as a design entrance exam or a portfolio, a class is usually the faster route. If you are preparing for NID, NIFT, or NATA, see our design entrance preparation program, which builds drawing, observation, and concept skills in a studio setting.
How Long Will It Take?
It depends on how often you practise and how you practise. Most beginners see clear improvement within a few weeks of regular sessions, and feel reasonably confident with basic shapes and shading within a few months. We wrote a separate piece on how long it takes to learn drawing and sketching if you want a realistic timeline.
See It Being Done
It helps to watch someone draw before you try. You can find free demonstrations on the Creative Jack YouTube channel and student work on our Instagram.
How Creative Jack Teaches Drawing
Creative Jack runs a Pencil Drawing course focused on realism portraits, and a beginner-level Professional Art Course that includes anatomy sketching, charcoal painting, and a grounding in light and shadow before moving through acrylic, watercolour, oil, and gouache. The Professional Art Course is taught by Kanak Koyari and is listed at Art Station studios in Andheri West, Khar West, CBD Belapur, FC Road Pune, and Mango Stationery in Thane West. Our courses are designed for complete freshers, and we offer online and offline options depending on the batch. You can see the pencil drawing courses and all art courses on the site.
FAQs
Can anyone learn to draw? Yes. Drawing is a skill built through observation and practice, not a gift you are born with.
What is the best first thing to draw? A simple object from life, such as a mug or an apple. It teaches observation, proportion, and shading together.
Should I learn sketching or drawing first? They are closely linked. Start with basic drawing skills, and use quick sketching as a daily habit.
Do I need to buy expensive pencils? No. A basic set of three or four grades is enough to begin.
How often should I practise? Short sessions three to five times a week work better than one long session.
Is it better to draw on paper or a tablet? Start on paper. It teaches pressure control, and the materials are cheaper.
Can I learn drawing online? Yes, particularly with live feedback. Pre-recorded videos work best as a supplement.
When should I think about a class? When you want feedback, a clear structure, or you are preparing for something specific, like a portfolio or exam.
Learning Drawing in Mumbai, Navi Mumbai, Thane, and Pune
If you are looking for a place to learn nearby, our Professional Art Course is listed at Art Station in Andheri West, Khar West, CBD Belapur, and FC Road Pune, and at Mango Stationery in Thane West. Check the course page for batches near you, and see pencil drawing classes in Mumbai for more detail.
Ready to Start?
If you would like someone to look at your first drawings, book a free trial class or message us on WhatsApp.
Related reads: How to Start Drawing as a Beginner | Drawing Pencil Types Explained | 7 Shading Techniques Every Beginner Artist Should Learn | How Long Does It Take to Learn Drawing and Sketching? | Pencil Drawing Classes in Mumbai