


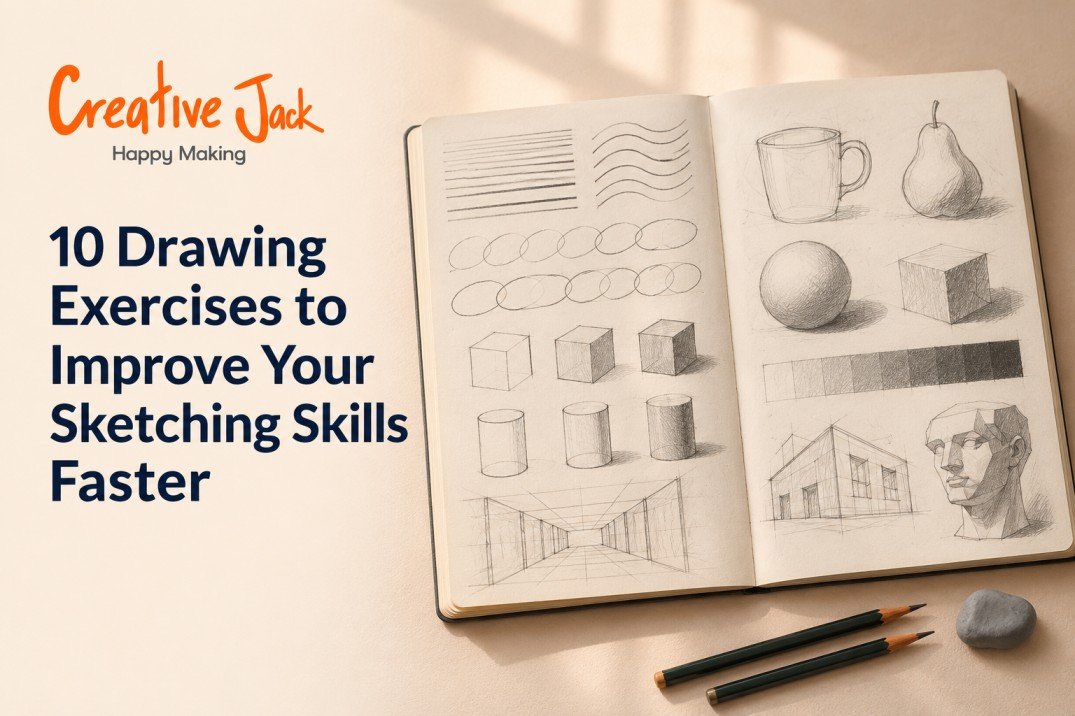
10 Drawing Exercises to Improve Your Sketching Skills Faster
The fastest way to improve your sketching skills is to practise short, timed sketching exercises that train one specific thing at a time: seeing simple shapes, judging proportion, comparing angles, and controlling tone. The ten exercises below are built for speed and accuracy. Each takes between 2 and 15 minutes, and none needs more than a pencil and a sketchbook. If you do three or four of them a week for a month, you will notice your drawings get quicker, cleaner, and more accurate.
What You'll Find in This Guide
• Ten timed drills that are different from the usual lines-and-circles warm-ups
• What each exercise trains, and how to know it is working
• How to measure progress so you can see yourself improving faster
• A two-week rotation you can start tomorrow
Why Some Practice Is Faster Than Other Practice
Two people can draw for the same number of hours and improve at very different rates. The difference is usually not talent. It is what they do with the time.
The slow way is to draw something you like, finish it, feel okay about it, and move on. The faster way is to pick one weakness, set a short time limit, repeat the task several times, and check the result against the real subject. Short limits force you to make decisions instead of fiddling. Repeating the same task gives your hand and eye a chance to get better at it. Checking your work gives you the feedback that most people skip. If you want to improve sketching skills faster, drills like these beat free drawing every time. Think of them as sketching drills or drawing drills, the way scales are practice for a musician.
If you are new and searching for sketching and drawing for beginners, start with the basics first. If you have already worked through basic warm-ups like lines, circles and a value scale, these ten drills are the next step. They are designed to sharpen your eye, not just your hand. If you are still at the very start, our post on how to start drawing as a beginner is a gentler place to begin, and our earlier list of 10 drawing exercises to practise covers the foundational warm-ups. These ten are different on purpose.
Exercise 1: Two-Minute Object Studies
Trains: Speed and the ability to decide what matters. Time: 10 minutes (five studies of two minutes each).
Pick an everyday object, such as a kettle, a shoe, or a bottle. Set a timer for two minutes and draw it. When the timer rings, stop, even if you are not finished. Turn the page and draw the same object again from a slightly different angle. Do five in a row.
The time limit is the whole point. In two minutes you cannot add detail, so you are forced to find the big shape, the main angle, and the biggest areas of dark. By the fifth drawing you will notice that you start with better decisions without thinking about it.
Check: Are the later drawings clearer than the first? If so, you are learning to simplify, and you are building real speed sketching ability without rushing.
Exercise 2: Reduce It to Three Shapes
Trains: Seeing structure instead of surface. Time: 5 to 10 minutes.
Choose a complicated object, like a plant, a chair, or a teapot. Before drawing anything else, describe it using only three simple shapes: a circle, a rectangle, a triangle, or an oval. Draw those three shapes lightly, in the right places and at the right sizes. Only then refine the outline.
Many beginners start with an outline and discover halfway through that the object is too tall or too narrow. When you block in three shapes first, you solve the biggest problem before any detail is on the page.
Check: Do your three shapes match the proportions of the real object? Hold a pencil at arm's length and measure.
Exercise 3: Sighting and Plumb Lines
Trains: Accurate proportion and alignment. Time: 10 minutes.
Hold your pencil at arm's length, with your arm straight and one eye closed. Use it to measure the width and height of your subject. Then check alignments: if you hold the pencil vertically, which parts of the object line up directly above or below each other? Mark those on your drawing as faint vertical or horizontal guide lines.
This is the same technique used by artists drawing from life, and it turns guessing into measuring. It feels slow at first. After a week, you will do it almost automatically, and it is the quickest way to improve drawing accuracy.
Check: Compare your drawing to the subject using the same pencil measurement. Are the ratios the same?
Exercise 4: Draw It Upside Down
Trains: Seeing shapes without your brain's interference. Time: 10 to 15 minutes.
Find a simple reference image, such as a photo of a face, a hand, or a shoe. Turn it upside down. Now draw exactly what you see, line by line, without trying to work out what it is. Your drawing will also be upside down.
When an image is upside down, your brain cannot easily label it ("that is a nose"), so it stops relying on symbols and starts relying on real shapes and angles. Many artists find that their upside-down drawings are surprisingly accurate. Turn your page the right way up when you finish.
Check: Does the finished drawing look better than you expected? That is your eye working without interference.
Exercise 5: Thumbnail Value Sketches
Trains: Seeing the big pattern of light and dark. Time: 10 minutes (four thumbnails of 2 to 3 minutes each).
Draw four small rectangles, about the size of a postage stamp. Pick a scene or object, and in each rectangle, block in only three tones: light, medium, and dark. Use the side of your pencil. Do not draw outlines.
Thumbnail sketches teach you to see a subject as shapes of tone instead of a collection of objects. This is the foundation of strong shading and composition, and it is much faster to practise at this size than on a full page.
Check: Squint at the real subject. Do the biggest dark areas in your thumbnail match the biggest dark areas in front of you?
Exercise 6: Draw Through the Form
Trains: Three-dimensional thinking. Time: 10 minutes.
Take a simple object like a mug or a box. Draw it as if it were made of glass, so you can see the back edges as well as the front. Include the lines you cannot actually see: the far side of the rim, the back corners of a box, the base hidden below the table.
Drawing through the form forces you to understand how an object is built, which makes the visible lines more convincing. It is especially useful for ellipses, such as the opening of a cup, because you see how the front and back of the curve connect.
Check: Does the object look solid? Do the ellipses sit comfortably within the form?
Exercise 7: Memory Drawing
Trains: Visual memory and attention. Time: 10 minutes.
Drawing from memory is harder than it sounds. Look at an object for one minute. Really study it. Then turn it away or cover it, and draw it from memory. Afterwards, bring it back and compare. Note what you got right and what you forgot.
You will quickly discover how much you assume, and how little you actually observe. After doing this a few times, you will find yourself looking at objects more carefully even when you are not drawing, which is one of the quiet ways drawing practice speeds up.
Check: What did you forget most often? Edges, proportions, angles? That tells you what to watch next time.
Exercise 8: One Continuous Pen Drawing, No Erasing
Trains: Confidence, commitment, and decision-making. Time: 5 to 10 minutes.
Use a pen or a very soft pencil you cannot erase easily. Draw a simple object or a corner of your room, and do not erase or restart, no matter what happens. Mistakes become part of the drawing.
Erasing is often a way of avoiding commitment. A drawing made without it is usually looser and more alive, and it teaches you to correct mistakes by drawing over them, which is how many professional sketchers work.
Check: Do you feel less tense at the end? That relaxation will carry over into your normal drawing.
Exercise 9: The Mirror Check
Trains: Spotting errors in your own work. Time: 5 minutes, after any drawing.
When you finish a drawing, hold it up to a mirror, or flip it over and look through the back of the paper against a window. Mistakes in proportion and symmetry jump out immediately.
Make this a habit after every drawing. It is the quickest way to give yourself feedback, and it trains the eye to catch problems early.
Check: What was the first thing you noticed in the mirror? That is probably your most frequent error.
Exercise 10: The Same Object, Every Week
Trains: Tracking progress. Time: 15 minutes, once a week.
Choose one simple object, such as a mug, and draw it once a week, always under the same light, for as long as you have time. Date each drawing and keep them all together.
After a month or two, lay out all the drawings in a row. You will see your improvement clearly, which is both satisfying and educational. It also shows you which problems persist, so you know what to work on next.
Check: Which parts improved? Which did not?
A Two-Week Rotation
You do not need to do all ten at once. Here is one way to spread them out.
Week 1
• Monday: Exercise 1 (two-minute studies) and Exercise 9 (mirror check)
• Wednesday: Exercise 3 (sighting) and Exercise 2 (three shapes)
• Friday: Exercise 5 (thumbnails)
• Weekend: Exercise 10 (same object)
Week 2
• Monday: Exercise 4 (upside down)
• Wednesday: Exercise 6 (draw through) and Exercise 7 (memory)
• Friday: Exercise 8 (no erasing)
• Weekend: Exercise 10 again
Repeat the cycle. Keep every page.
How to Measure Whether You Are Getting Faster
Speed is not just about drawing quickly. It is about reaching an accurate drawing in less time. Track three things.
Time to a correct block-in. How long until your basic shapes match the subject? This should drop over a few weeks.
Number of corrections. How many times do you need to erase or redraw? Fewer is better.
Mirror check results. How many errors do you spot after a drawing? As your eye improves, you will catch fewer big errors.
Write these down in the corner of each page. Small numbers, small notes. After a month, you will have real evidence of progress.
Where Exercises Stop Being Enough
Exercises are powerful, but they have a limit: you are the only one checking your work, and you have the same blind spots as before. A teacher can see in thirty seconds what you cannot see in thirty days. If you find yourself practising consistently without improving, or repeating the same errors, a class can break the pattern. Drawing lessons for beginners and sketching lessons for beginners are built for exactly this stage, and if you want to learn sketching properly, feedback is the fastest shortcut. You can learn more about what to look for in our post on drawing classes for adults, and read about common drawing mistakes to diagnose problems yourself first.
See the Exercises Done
Watching an exercise done once is worth reading about it ten times. You can find free demonstrations on the Creative Jack YouTube channel, and see student work on our Instagram.
How Creative Jack Fits Into Your Practice
Creative Jack's beginner-level Professional Art Course starts with anatomy sketching and builds towards tonal values, light and shadow, and composition, so many of these drills feed directly into it. We also have a Pencil Drawing course for realism portraits. Our beginner-level courses are designed for complete freshers, and classes run online and offline depending on the batch.
FAQs
How often should I do these exercises? Three or four sessions a week of 15 to 30 minutes is a good rhythm. Short, regular practice beats long, rare sessions.
Which exercise should I start with? Two-minute object studies and the mirror check. They are quick, and they build habits that help with every other exercise.
Why use a timer? A time limit forces you to make decisions and stops you from over-working a single drawing.
Should I erase during these drills? Mostly no. Draw lightly and correct by redrawing. The no-erasing exercise is there to build confidence.
How long before I see results? Many people notice sharper proportions and quicker drawings within two to four weeks of regular practice.
Can I do these with a pen instead of a pencil? Yes. A pen forces commitment, which is useful. Use a pencil if you are nervous.
Do I need a teacher? No, but feedback helps when your progress stalls.
Practising in Mumbai, Navi Mumbai, Thane, and Pune
If you would like a studio and a teacher to look at your work, our Professional Art Course is listed at Art Station Andheri West, Khar West, CBD Belapur, and FC Road Pune, and at Mango Stationery in Thane West. Check the course page for current batches.
Want Someone to Check Your Work?
Book a free trial class or message us on WhatsApp.
Related reads: How to Improve Your Sketching Skills: 10 Drawing Exercises to Practise | How to Build a Daily Drawing Practice Without Feeling Overwhelmed | How Long Does It Take to Learn Drawing and Sketching?