


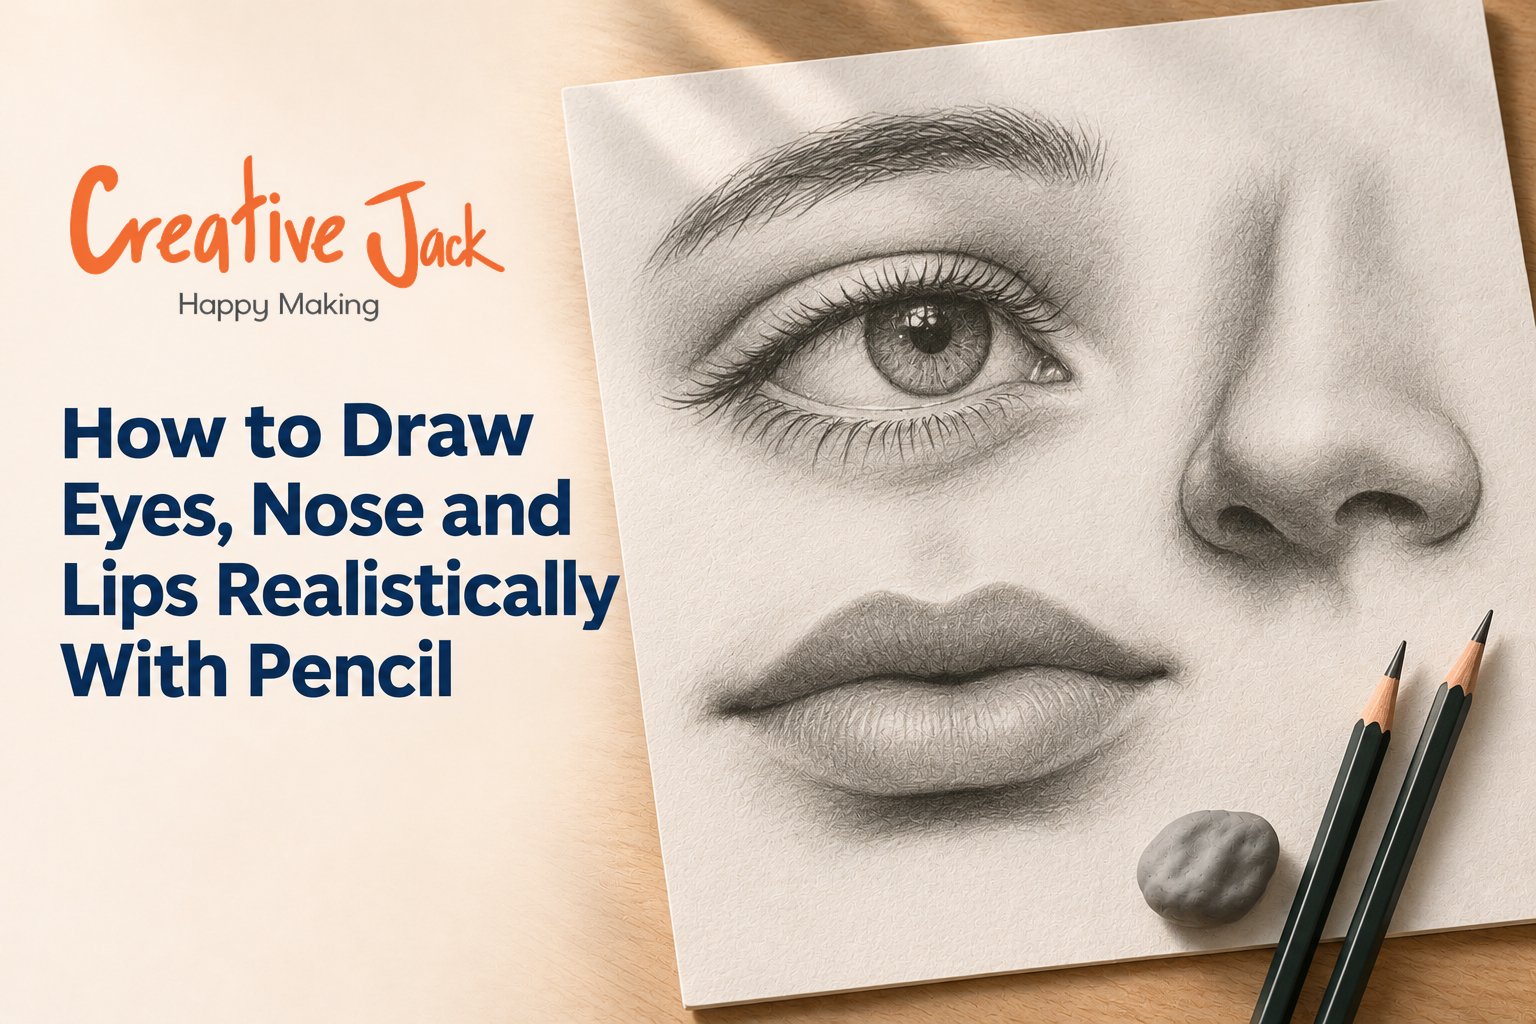
How to Draw Eyes, Nose and Lips Realistically With Pencil
To draw eyes, nose and lips realistically, treat each feature as a set of simple forms with tone on them, not as outlines. Build the eye from an almond shape, a partly covered iris, and the shadow the upper lid casts. Build the nose from a few planes and let shadow do most of the work. Build the lips around the line where they meet, and keep their edges soft. Placement and shading matter far more than fine detail.
What You'll Find in This Guide
• How the eye is built, with a step-by-step method
• How to draw a nose without outlining it
• How to draw lips that look soft and three-dimensional
• Which pencils and shading to use on each feature
• Common mistakes and how to avoid them
• Practice exercises for each feature
Why Features Look "Drawn On"
Drawing facial features as symbols is the most common beginner habit. Many beginners draw eyes, noses and lips as symbols. An eye becomes an almond with a circle. A nose becomes a hooked line. Lips become a dark outline with a curve in the middle. The result looks like a cartoon, even when the drawing is careful.
Real features do not have outlines. They have forms that catch light and cast shadows, and our eyes read the pattern of light and dark as the shape. When you shift from drawing lines to drawing tone and form, the features begin to look as though they could move.
Before you start, make sure the features are in the right place. If you have not already, read our guide to facial proportions, because a perfect eye in the wrong position still looks wrong.
Materials
Pencil portrait features need very little equipment.
• HB for light guidelines and the first outlines
• 2B for general shading
• 4B for darker areas, such as the pupil and nostrils
• 6B (optional) for the deepest darks
• A kneaded eraser for lifting highlights
• A blending stump for soft transitions
• Smooth-to-medium paper
If you would like help choosing, read our guide to drawing pencil types.
How to Draw the Eye
This eye drawing for beginners method also works for realistic eye drawing at any level. If you want to draw eyes with pencil that look alive, start here. The eye is the feature people look at first, and the one that makes or breaks a portrait. Fortunately, it is made of a few simple parts.
What You Are Actually Drawing
An eye is a ball (the eyeball) sitting in a socket, covered by two lids. Seeing it that way, as a sphere partly covered, helps a lot. The visible parts are:
• The iris, the coloured circle, which is partly covered by the upper lid
• The pupil, the dark centre of the iris
• The sclera, the white of the eye, which is rarely pure white because it curves away from the light
• The upper lid, which casts a shadow on the eyeball
• The lower lid, a thin ridge with a slight thickness
• The crease above the upper lid
• The tear duct, the small pinkish area at the inner corner
Step 1: Draw the Almond Shape
Lightly draw an almond for the eye opening. Notice the angle: in many faces, the outer corner is slightly higher than the inner corner, but this varies. Look at your reference and match what you see.
The width of the eye is roughly the same as the gap between the two eyes. Check that.
Step 2: Place the Iris
Draw a circle for the iris, positioned so that the upper lid covers its top edge. In most faces, you see the full iris only if the person is surprised. The iris is usually partly hidden by both lids, mostly the upper one. If the whole iris is visible, the eye looks wide open and slightly startled.
Step 3: Draw the Pupil and the Highlight
Draw a smaller circle in the centre of the iris and fill it with the darkest tone. Then leave a small highlight, a patch of clean paper where light reflects. This catchlight is what makes the eye look alive. Place it consistently with your light source, on the same side in both eyes.
Step 4: Shade the Iris
The iris is not flat. It is darker near the top, where the lid casts a shadow, and lighter towards the bottom. Add fine radiating lines from the pupil outward, then darken the outer ring. Keep it soft.
Step 5: Add the Shadow of the Upper Lid
This is the step beginners miss most often. The upper lid casts a soft shadow onto the eyeball just below it. Shade lightly across the upper part of the white and the iris. This one shadow makes the eye look recessed and round.
Step 6: Shade the Sclera Gently
The white of the eye is slightly grey, especially at the corners, where the eyeball curves away. Use a very light tone and keep it darker near the corners and lighter in the middle. Never leave it stark white against a shaded face.
Step 7: Draw the Lids and Crease
Add the thickness of the upper and lower lids, with a thin line. Then add the crease above the eye as a soft curve. Avoid drawing every eyelash. Suggest the lashes with a few short, curved strokes that taper at the end, and let them clump slightly.
Step 8: Add the Eyebrow
The brow is not a line. It is a mass of hair growing in a direction. Draw the overall shape lightly, then add short strokes in the direction of growth: upward and inward at the start, then more horizontal, then downward at the tail. Keep it softer at the edges.
Common Eye Mistakes
• Drawing the full iris, which makes the eye look startled
• Making the sclera pure white
• Forgetting the lid's shadow on the eyeball
• Drawing each eyelash as a hard line
• Placing highlights on different sides in each eye
• Making the eyes unequal in size
How to Draw the Nose
The nose is difficult because it is mostly shadow and has very few clear lines. Beginners tend to outline it, which makes it look pinned to the face.
What You Are Actually Drawing
Think of the nose as a combination of simple forms: a wedge for the bridge, a rounded ball at the tip, and two smaller forms, the wings (alae), on either side of the nostrils. The nostrils are dark openings, not circles.
A helpful way to see it is as a box, with a top plane, two side planes, and a bottom plane. This turns an organic shape into something you can light.
Step 1: Place the Nose
Mark the base of the nose, about halfway between the eye line and the chin. The width of the base is roughly the distance between the inner corners of the eyes.
Step 2: Block In the Planes
Lightly mark the bridge, the tip, and the wings. Decide where the light comes from. The side of the nose facing the light is bright, and the opposite side is in shadow.
Step 3: Draw the Nostrils and Underside
Draw the nostrils as dark, soft shapes, not black circles. Shade the underside of the nose, which is usually in shadow. This shadow gives the nose its projection.
Step 4: Shade the Side Plane
Build tone along the shadow side of the nose, from the bridge down to the wing. Keep the transition between the bridge and the cheek soft. This is often a lost edge.
Step 5: Add the Cast Shadow
The nose casts a small shadow onto the upper lip or cheek, depending on the light. Add it softly. It anchors the nose to the face.
Step 6: Add Highlights
The tip of the nose and the bridge often catch light. Lift graphite with a kneaded eraser or leave the paper clean.
Common Nose Mistakes
• Outlining the whole nose with a dark line
• Drawing nostrils as hard black circles
• Forgetting the cast shadow
• Making the nose too narrow or too wide
• Shading both sides equally
How to Draw Lips
This lip drawing tutorial starts with one idea: lips are all about soft edges and subtle tone. The biggest beginner mistake is outlining them in a dark line, which makes them look like stickers.
What You Are Actually Drawing
Lips are two soft forms, the upper and the lower, that meet along the mouth line. The upper lip usually faces slightly downward, so it catches less light and looks darker. The lower lip faces slightly upward, catches more light, and often has a highlight. The dip in the upper lip is sometimes called the cupid's bow, and the groove above it is the philtrum.
Step 1: Draw the Mouth Line
Start with the line where the lips meet. This is the darkest and most important line in the mouth. It is not straight: it curves slightly, rises at the corners, and has a subtle dip in the centre.
Step 2: Place the Corners
The corners of the mouth line up roughly with the centres of the pupils when looking straight ahead. Mark them and soften them, because the corners are slight indentations, not sharp points.
Step 3: Shape the Upper Lip
Draw the upper lip with a gentle curve, including the cupid's bow. Keep the outer edge faint. Shade the lip with a slightly darker tone than the lower, using soft strokes that follow the form.
Step 4: Shape the Lower Lip
The lower lip is fuller and softer. Shade its outer edge, and leave a highlight near the centre. Add a gentle shadow beneath the lower lip, where it meets the chin.
Step 5: Add Texture Lightly
Lips have tiny vertical creases. Suggest them with a few very light strokes, not lines. Too much texture looks like cracked skin.
Step 6: Teeth, If Visible
If the mouth is open, do not draw each tooth. Teeth are slightly grey, they are darker towards the corners, and there are soft shadows between them. Suggest the shapes with light tone and a few faint lines.
Common Lip Mistakes
• Outlining the lips in a dark line
• Making the upper and lower lips equal in tone
• Drawing the mouth line as a straight line
• Drawing every tooth
• Forgetting the shadow below the lower lip
Putting the Three Together
Once you can draw each feature, check how they relate.
Alignment. The inner corners of the eyes, the edges of the nostrils, and the corners of the mouth roughly line up in a front view. The centres of the pupils fall near the corners of the mouth.
Tone consistency. All three should obey the same light. If the light comes from the left, the shadows should fall on the right of each feature.
Edge variety. Use hard edges where they matter, such as the pupil and the mouth line, and soft edges elsewhere.
Restraint. Resist the urge to render one feature much more than the others. If the eyes are highly detailed and the nose is a sketch, the face looks uneven.
Practice Exercises
Practise features separately, in short sessions.
• Week 1: Eyes. Draw ten eyes: different angles, different lighting, and one with the eye closed.
• Week 2: Noses. Draw ten noses, from front, three-quarter, and profile views. Focus on shadow shapes.
• Week 3: Lips. Draw ten mouths, including closed, slightly open, and smiling.
• Week 4: Combine. Draw a full portrait from a photo, using what you practised.
Keep a page of each feature. Compare week one to week four.
Feedback Helps Here More Than Anywhere
Features are small, and tiny differences change expression and likeness. A teacher can show you why your eyes look surprised or your mouth looks stiff much faster than self-study. If you are comparing portrait drawing courses, portrait sketching classes near me, or portrait art classes near me, see our post on portrait drawing classes near me for what to look for.
See Features Being Drawn
You will find demonstrations on the Creative Jack YouTube channel, and student portraits on our Instagram.
How Creative Jack Teaches Portraits
Creative Jack has a Pencil Drawing course focused on realism portraits, listed under the Pencil Drawing category. Our beginner-level Professional Art Course also includes anatomy sketching and charcoal work on portraits, along with light and shadow. Check the course listings for levels and batches.
FAQs
What is the hardest feature to draw? Most beginners find eyes the hardest to get right, mainly because we read eyes so closely. Noses are hardest to shade, because they rely on subtle tone.
How do I draw eyes that look alive? Add a clear highlight, the shadow of the upper lid, and a partly covered iris. Keep both eyes consistent.
Should I draw eyelashes one by one? No. Suggest them with a few tapered strokes in clumps.
How do I draw a nose without outlining it? Shade the shadow planes and the underside, and let edges fade softly into the cheek.
Why do my lips look flat? You may be using an outline and the same tone on both lips. Use soft edges, and make the upper lip slightly darker.
What pencil is best for shading features? A 2B and a 4B cover most needs. Add a 6B for the darkest accents.
How long does it take to draw features realistically? With regular practice, many people see clear improvement within a few weeks. See how long it takes to learn drawing and sketching.
Learning Features in Mumbai, Navi Mumbai, Thane, and Pune
If you would like in-person guidance, our Professional Art Course is listed at Art Station Andheri West, Khar West, CBD Belapur, and FC Road Pune, and at Mango Stationery in Thane West. Ask about Pencil Drawing batches when you enquire.
Want a Teacher to Look at Your Portraits?
Book a free trial class or message us on WhatsApp.
Related reads: How to Draw Faces Better: A Beginner's Guide to Facial Proportions | How to Improve Your Pencil Shading and Make Drawings Look More Realistic | Portrait Drawing Classes Near Me